In today's digital age, we are constantly surrounded by electromagnetic fields (EMFs) from our electronic devices…
Switching from WiFi to Wired Internet

If you’re trying to reduce EMF at home, one major step you can take is to ditch the WiFi.
Sure, it’s convenient, but WiFi-enabled devices also emit a great deal of EMF radiation.
Wired internet not only emits less EMF, but it’s also more secure, faster, and reliable than wireless.
One option for going wired is to hire an expert to come to your home, assess what you need, and run your Ethernet cables for you.
If you have the money and don’t feel confident in your technical abilities, this may be your best bet. If you’re looking for a more do-it-yourself solution, however, this guide may help.
Get the Equipment
Your first step to a wired household is to purchase the equipment you need. Your internet provider may be leasing you a modem as part of your monthly bill– many do.
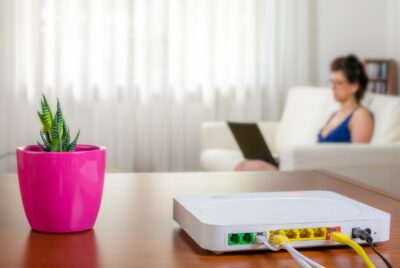
If you don’t currently have a modem, you’ll need to get one. Many double as a router, with wireless capability, and that’s fine.
The key is to make sure that your modem comes with the ability to turn off WiFi broadcasting.
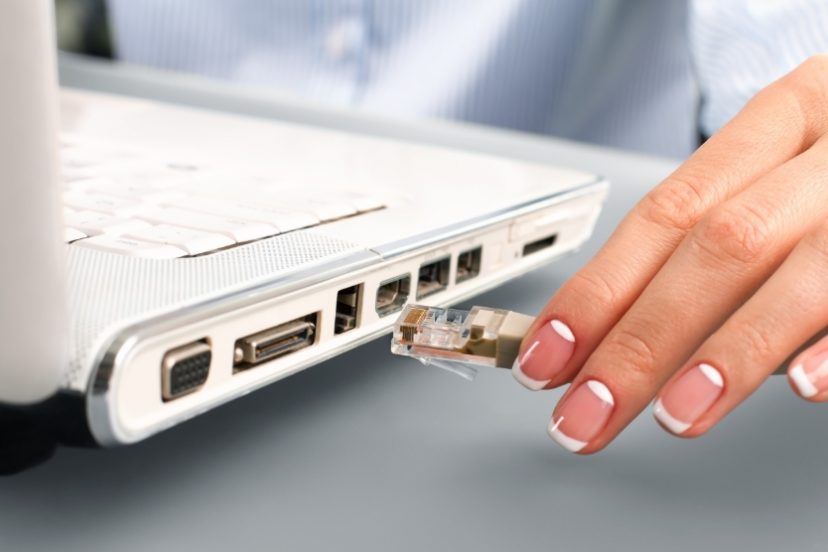
You’ll also need Ethernet cables and an Ethernet switch. The switch allows you to connect multiple internet cables, thus allowing you to have a wired connection on all of your devices.
You’ll need to have some idea of how many devices you have in your home that need a wired connection so you can make sure you switch has enough ports.
For the Ethernet cables, opt for a reinforced or shielded cable that will help further reduce EMF-output.
You may want an Ethernet cable for each device you plan to connect, or you could share one cable between multiple devices if they won’t be in use at the same time.
Plug In and Run Cables
Once you have all the right equipment, it’s time to get started. First, plug in your modem and set it up per the instructions from your internet service provider. Once it has an internet connection, plug an Ethernet cable into the Ethernet port on the modem. Connect the other end to your Ethernet switch.
Now that the Ethernet switch is live and connected, you can run cables from the switch to each room that you want to have internet access.
This may mean drilling through the floor or ceiling if you have multiple levels in your home.
You could run the cable alongside carpet or tape it to the wall. If appearance is the primary concern, you could also run the cable behind the wall and simply install a port in each room.
Connect Your Devices
Once you’ve got the Ethernet cables in each room that needs access, you can start to plug your devices in.
This could include televisions, desktop computers, video game consoles, and anything else with an Ethernet port.
Your cell phone may be without internet, but a desktop computer (or even a laptop with a wired connection) is safer for surfing the web when it comes to EMF output.
Turn off WiFi
The final step of going wired is to turn off the WiFi on your modem and all WiFi-enabled devices.
The actual steps of this vary depending on the device, so if you’re unsure you may need to consult the device’s owner’s manual.
A hardwired internet connection is superior to WiFi for a number of reasons, particularly if you want to reduce your home’s EMF level.
While it does take some technical skill and effort, it’s a small price to pay for protecting your family from EMF radiation.


